The Process of Replacing Old Asphalt Roofing
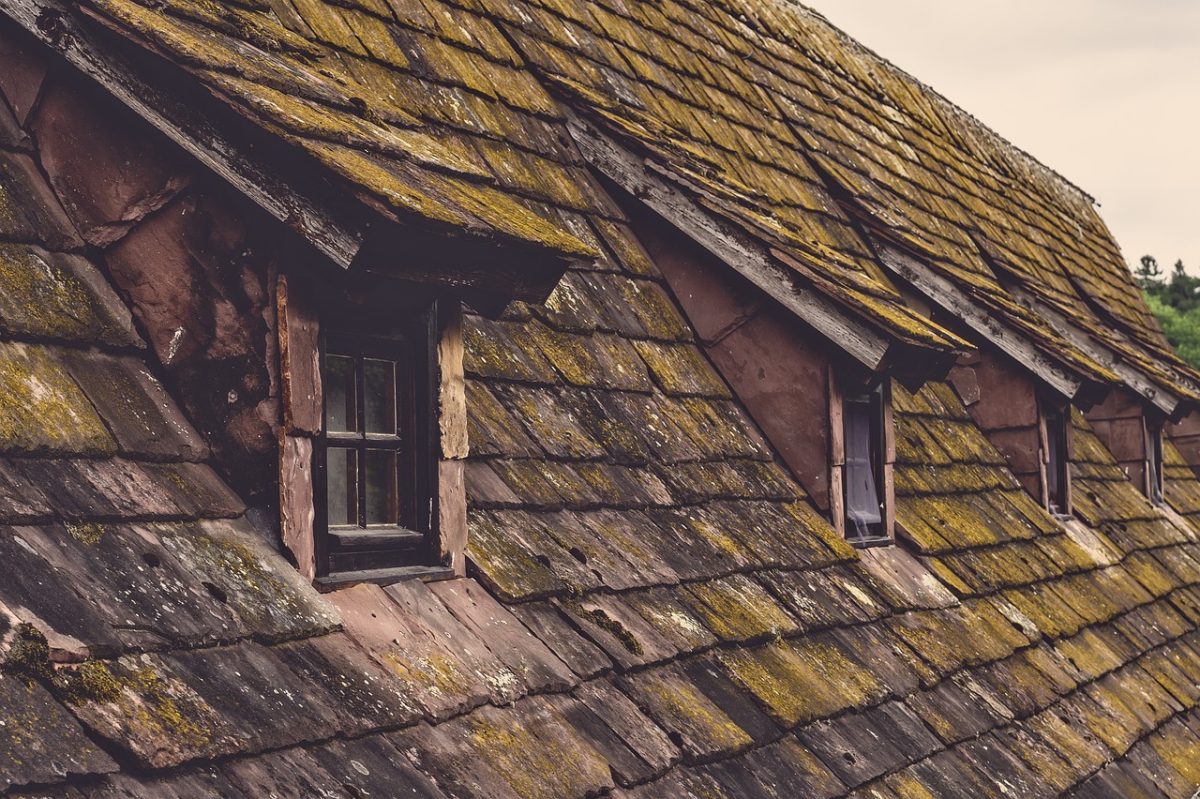
Replacing old asphalt roofing is crucial for maintaining a home’s integrity and safety. Over time, asphalt shingles can deteriorate due to weather conditions, wear and tear, and other environmental factors. This process not only enhances the aesthetic appeal of your property but also ensures that your home remains protected from potential damage. We will explore the various steps in replacing old asphalt roofing, from initial inspection and preparation to the final installation by the roofing company and cleanup. Understanding these steps can help homeowners make informed decisions and manage the replacement process more effectively.
Inspection and Evaluation
The first step in replacing old asphalt roofing involves thoroughly inspecting and evaluating the existing roof. This stage is essential to determine the extent of damage and assess whether the underlying structure requires repair. During the inspection, a professional will examine the shingles for signs of wear, such as cracking, curling, or granule loss. They will also check for potential issues with the roof decking and underlying components. If the damage is extensive or the roof structure is compromised, it may be necessary to address these issues before proceeding with the replacement. Proper evaluation helps plan the required repairs and ensures a smoother installation of the new roofing.
Removal of Old Shingles
Once the inspection is complete and any necessary repairs have been identified, the next step is the removal of the old shingles. This process begins with stripping away the existing asphalt shingles and any underlying materials. Roofing professionals will carefully lift the old shingles using specialized tools to avoid damaging the roof decking. Removing all debris, including nails and other fasteners, is crucial to prepare the surface for the new roofing material. Proper removal ensures that the new shingles will adhere correctly and that no residual issues from the old roof will affect the installation. This step is labor-intensive but essential for a durable new roof.
Preparation of the Roof Deck
After removing the old shingles, the next phase involves preparing the roof deck. This preparation is vital to ensure that the new roofing material has a clean and stable surface to adhere to. Any damaged or rotted roof deck sections should be repaired or replaced during this stage. The roof deck should also be thoroughly cleaned to remove any remaining debris, dirt, or old adhesive. Installing a new layer of underlayment or roofing felt may also be necessary to provide additional protection against moisture and enhance the overall performance of the latest roofing. Proper roof deck preparation contributes significantly to the longevity and effectiveness of the new asphalt roofing.
Installation of New Shingles
With the roof deck adequately prepared, new asphalt shingles can be installed. This process involves laying down the new shingles in an overlapping pattern, starting from the bottom edge of the roof and working upward. Following the manufacturer’s guidelines for shingle placement and alignment is crucial to ensure proper coverage and performance. Roofing professionals will install ridge vents and other necessary components to facilitate proper ventilation and prevent issues like trapped moisture. The installation process requires precision and attention to detail to ensure that each shingle is adequately secured and that the roof is watertight. Following these steps carefully will result in a well-installed and durable roofing system.
Flashing and Sealing
An essential aspect of replacing asphalt roofing is installing flashing and sealing around roof penetrations and edges. Flashing is typically made of metal or other durable materials and is used to direct water away from vulnerable areas such as chimneys, vents, and skylights. Proper flashing installation helps prevent leaks and water damage by creating a barrier between the roofing material and these penetrations. Additionally, sealing the edges and joints with roofing cement or sealant is essential to ensure the roofing system remains watertight and secure. This step helps protect the roof from leaks and extends the lifespan of the new roofing.
Cleanup and Inspection
Once the new asphalt shingles are installed and all flashing and sealing are completed, the final phase involves cleanup and inspection. The cleanup process includes removing leftover materials, debris, and old shingles from the property. Ensuring that the area around the home is left clean and free from hazards is essential. Following cleanup, a thorough inspection should be conducted to verify that the new roof has been installed correctly and that all components are functioning as intended. This inspection may involve checking for loose shingles, ensuring proper alignment, and verifying that all flashing and seals are intact. A final inspection ensures the new roofing meets quality standards and performs effectively.
Replacing old asphalt roofing is a comprehensive process that requires careful planning and execution to achieve the desired results. From the initial inspection and removal of old shingles to the installation of new materials and final inspection, each step plays a crucial role in ensuring a durable and effective roofing system. By understanding and following these steps, homeowners can make informed decisions and manage the replacement process more efficiently. A well-replaced asphalt roof not only enhances the aesthetic appeal of a home but also provides essential protection against the elements, contributing to the overall safety and value of the property.