What to Expect During the Roof Replacement Process?
A roof replacement is a significant investment that ensures the structural integrity of a home while protecting it from harsh weather conditions. Over time, roofs deteriorate due to exposure to the elements, requiring a complete replacement to maintain safety and energy efficiency. Understanding the steps involved in a roof replacement process helps homeowners prepare for the project and anticipate potential disruptions. From initial planning to the final inspection, each phase plays a vital role in ensuring a long-lasting and properly installed roof. We will explore the essential stages of a roof replacement, covering preparation, material selection, removal of the old roofing, installation, and post-project cleanup. With the right expectations, homeowners can navigate the process smoothly, making informed decisions.
Stages of a roof replacement
- Initial Roof Inspection and Estimate
Before a roof replacement begins, a professional assessment is necessary to determine the extent of the damage and the required materials. An inspection helps identify leaks, missing shingles, structural concerns, and potential issues such as water damage or mold growth. Based on these findings, a roofing contractor provides an estimate that includes labor costs, materials, and the expected timeline for the project.
Homeowners should use this opportunity to ask questions about the available roofing materials and their benefits. Asphalt shingles, metal, and tile each offer different levels of durability and aesthetic appeal. Understanding each option’s long-term benefits and maintenance requirements helps homeowners make informed decisions that align with their budget and preferences. Additionally, an inspection may reveal any necessary structural repairs that should be addressed before installation. Preparing for potential adjustments in the project scope can help prevent delays once work begins.
- Preparing the Home and Property
Roof replacement involves heavy equipment, falling debris, and high activity levels around the home. Preparing the property before the work starts can help minimize disruptions and protect surrounding structures. Homeowners should clear outdoor spaces, move vehicles away from the work area, and remove any fragile items from walls inside the home, as vibrations from construction may cause minor shifts in hanging objects.
Protecting landscaping is another consideration, as roofing debris can accumulate in yards or gardens. Contractors from Locke and Ladder Roofing typically use tarps and plywood to cover plants, patios, and walkways. Still, homeowners may also take extra precautions by relocating potted plants or trimming overhanging tree branches. Inside the home, covering furniture and belongings in the attic prevents dust and debris from settling on stored items. These preparations ensure a smoother process and help avoid unnecessary damage to personal property.
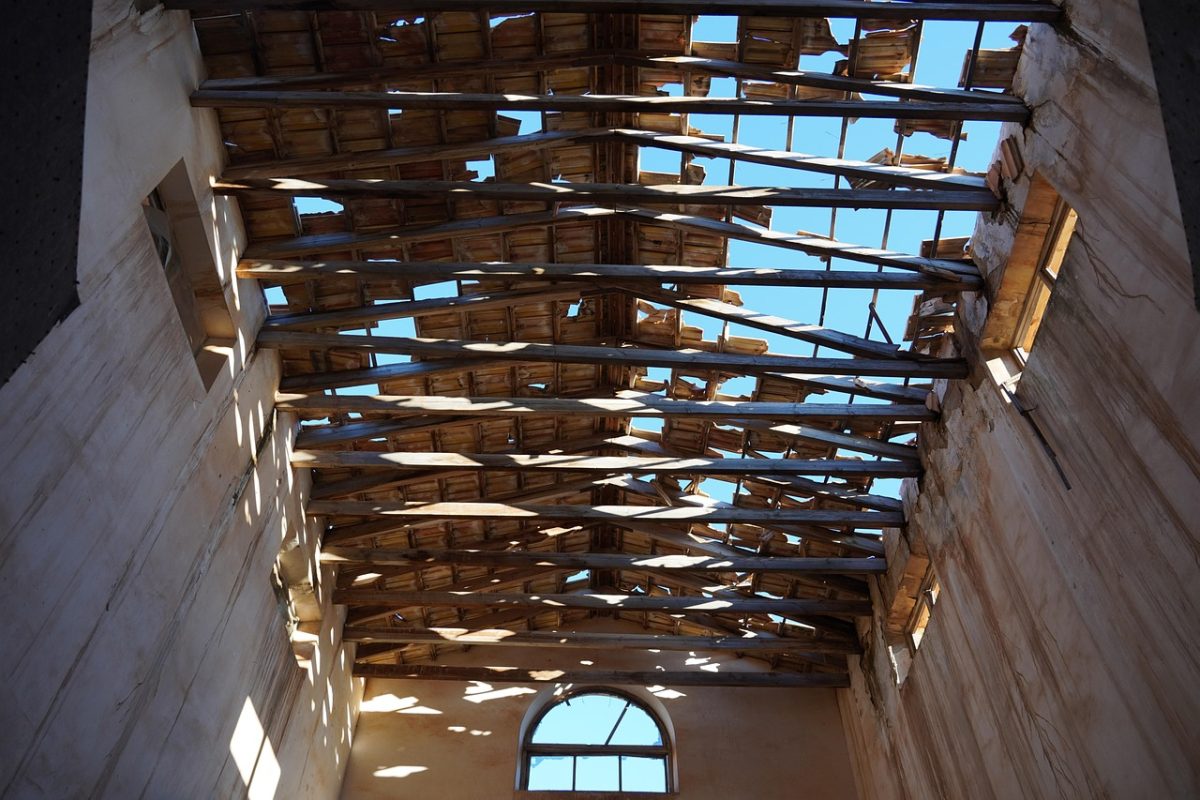
- Removing the Old Roofing
Removing old roofing materials is a crucial step that clears the surface for the new roof installation. This phase can be noisy and disruptive as contractors strip away existing shingles, underlayment, and damaged roofing components. Dumpsters or disposal bins are typically placed near the home to collect debris efficiently.
During this stage, contractors inspect the decking beneath the shingles to check for signs of rot or structural weaknesses. Any compromised sections are replaced to ensure a stable foundation for the new roofing materials. Skipping this step can lead to long-term issues, including leaks and uneven roof surfaces. Homeowners should anticipate some mess during this stage but expect contractors to clean up at the end of each workday to maintain a safe environment. Removing the old roofing thoroughly ensures a smooth transition to the installation phase.
- Installing the Underlayment and Flashing
Once the old roofing materials are removed and necessary repairs are completed, the installation begins with the underlayment. This protective layer acts as a moisture barrier between the roof decking and the outer roofing materials, reducing the risk of leaks. Underlayment options include felt, synthetic materials, and self-adhering membranes, each providing different levels of water resistance and durability.
Flashing is another essential component installed during this phase. Placed around chimneys, vents, skylights, and valleys, flashing prevents water from seeping into vulnerable areas. Properly installed flashing extends a roof’s lifespan by directing water away from seams and edges. By ensuring that these foundational elements are correctly placed, contractors create a watertight barrier that enhances the roof’s durability and performance over time.
- Laying the New Roofing Materials
The primary roofing materials are installed with the underlayment and flashing in place. The method and time required for installation depend on the chosen material. Asphalt shingles, the most common choice, are laid in overlapping rows to create a uniform, weather-resistant surface. Metal roofing panels require precise fastening and sealing, while clay tiles are carefully placed to maintain proper alignment and coverage.
Roofing contractors systematically secure each section, ensuring the materials are adequately sealed and positioned. Proper ventilation is also addressed during this stage, with ridge vents or soffit vents installed to promote airflow and prevent moisture buildup in the attic. Ventilation is key to maintaining energy efficiency and prolonging the roof’s life. Homeowners can expect visible progress as the new roof takes shape and nears completion.
- Final Inspection and Cleanup
Once the roofing materials are installed, a thorough inspection is conducted to verify the quality of the work. Contractors check for proper alignment, secure fastening, and sealed edges to confirm that the roof meets industry standards. Attention is given to flashing details, ventilation efficiency, and overall craftsmanship. Any necessary adjustments or finishing touches are made before the project is officially completed.
Cleanup is an essential part of the roof replacement process. Contractors remove all debris, nails, and leftover materials from the site, ensuring the property is in good condition. Magnetic sweepers are often used to collect stray nails from driveways and yards, reducing the risk of injury. Homeowners should conduct a final walkthrough with the contractor to address any concerns and ensure satisfaction with the work. This step provides an opportunity to review the new roof’s maintenance recommendations and warranty details.
Replacing a roof is a significant home improvement project that requires careful planning and execution. Each stage, from the initial inspection to the final cleanup, ensures a durable and reliable roof. Homeowners who understand the process can better prepare for disruptions and make informed decisions about materials and installation methods. A well-installed roof enhances a home’s protection, energy efficiency, and overall value, making it a worthwhile investment for long-term security. By working with experienced professionals and taking necessary precautions, homeowners can ensure a smooth roof replacement process that meets their needs and expectations.