Step By Step Guide To Removing Nail Polish Safely
Polish renders that aesthetic look on nails and taking it off properly contributes to preserving the strength and wellness of the nails. High-quality removers will keep your nails strong, and your cuticles hydrated, preventing dry and irritated cuticles. For instance, almost 80% of people who use acetone-based removers without proper care end up with dehydrated nails. So why choose a remover that works as well as it nourishes?
The perfect remover and method protect your nails from unnecessary thinning and damage, even when frequently changing the polish. A polish remover that is strong enough to do its job without excessive scrubbing or peeling will help dissolve the polish efficiently without damaging the nail bed.
Therefore, how do you remove nail polish without damaging your nails in the process? Success depends on using the proper tools, following the appropriate steps, and keeping your nails hydrated.
This guide explains the safest way to remove different types of polish while protecting your nails and skin.
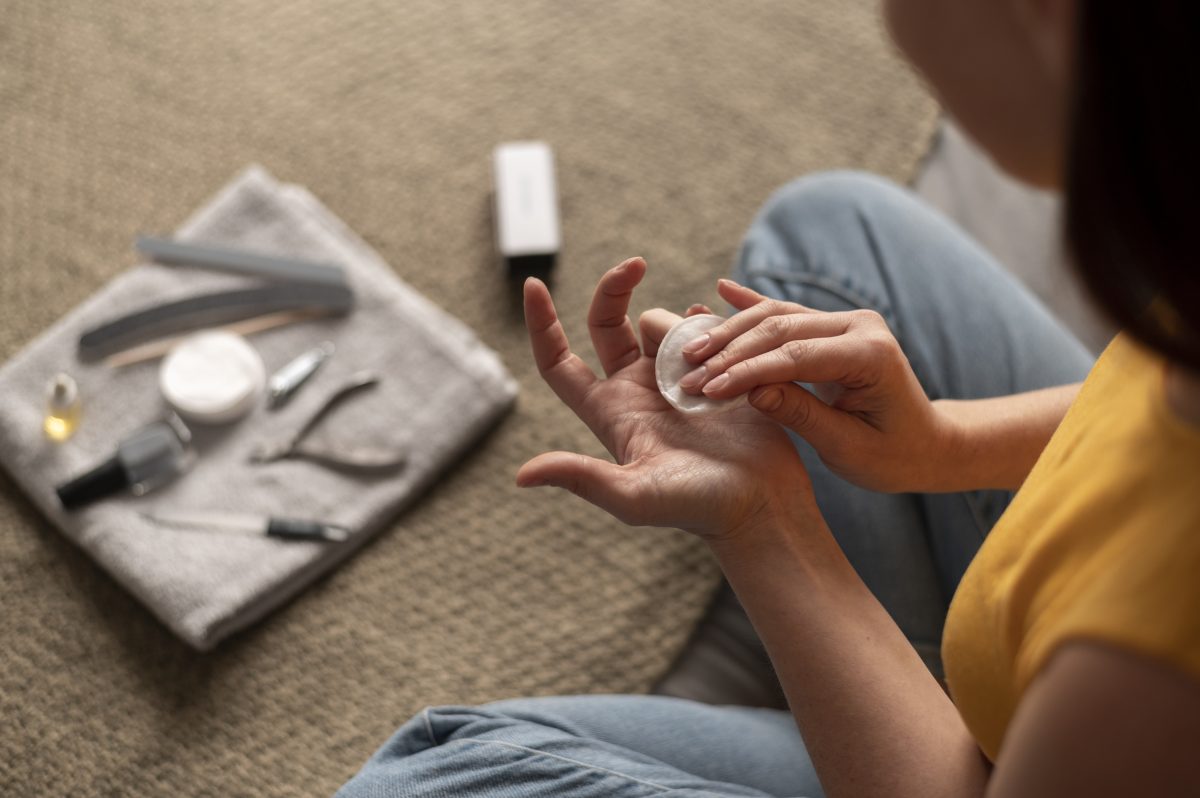
1. Check the Type of Nail Polish
On how to remove nail polish, you should know the type of polish before removing it.
Check your nails. Do you have a normal polish that is thin and shiny? Is your polish resistant and reflective, as in the case of gel or dip powder? Your polish will hint at what to use in the removal.
2. Gather Necessary Supplies
For traditional polish
To dissolve traditional nail polish, you will need a few basic supplies. Begin with a good polish remover, such as an acetone-based one, which works faster. However, you can use a non-acetone-based one for more delicate removal.
Cotton pads or cotton balls will help you apply the remover to your fingertips, while a small bowl will hold the remover so you can dip your fingertips if need be. Take some aluminum foil to cover your cotton-covered fingertips for greater efficiency.
For gel or dip powder polish
Removing gel or dip powder polish is technique dependent. 100% acetone, stronger than regular nail polish remover, is required. Cotton balls or pads are required to apply the acetone to your nails. Aluminum foil strips should be pre-cut to fold over your fingertips. Moreover, a cuticle pusher or a wooden orange stick is required to gently scrape away the loosened polish without damaging your nail bed.
3. Prepare Your Work Area
Creating the ideal working space enables easy and hygienic nail polish removal. Work on a stable horizontal surface with enough lighting so that you can see what you are doing. Set an old newspaper on the floor to absorb any drops or spills during this process. This simple process prevents having to clean surfaces later.
4. Protect Your Skin
Before applying any remover to your nails, prepare your skin. Coat your fingertips and cuticle area with a thin layer of petroleum jelly or heavy-duty lotion. This creates a shield that protects your skin from drying out or being damaged by harsh chemicals, which is especially important with acetone-based removers.
5. Remove the Nail Polish
Traditional Nail Polish
To remove traditional nail polish, start by saturating a cotton pad or cotton ball in nail polish remover. Hold against the nail for 10 seconds to allow the remover to break down the polish. Wipe from tip to nail bed. For stubborn polish, hold the soaked cotton longer or use the foil method for a stronger effect.
Gel or Dip Powder polish
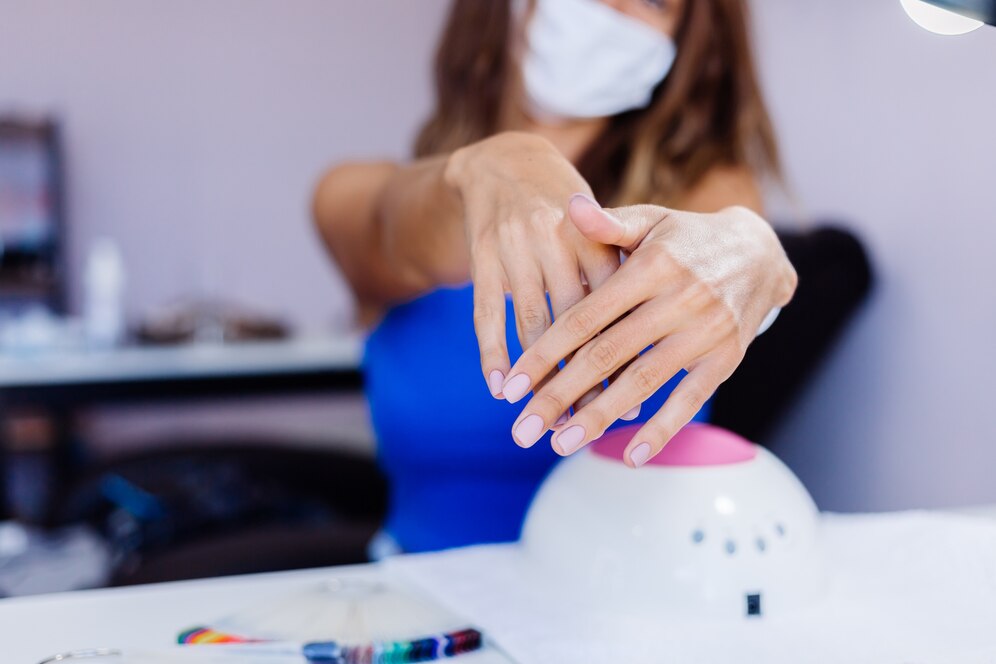
Gently file the surface of your nails with a medium-grit file until the shine is gone. The top layer is disrupted, so don’t file too deeply. This speeds up the removal process since acetone can penetrate the polish layers better.
Next, soak cotton balls in pure acetone and place one on each nail. Wrap a small aluminum strip around each tip to seal in and prevent evaporating. Soak nails for 15-20 minutes. Remove the foils, and your polish will seem raised and broken.
Push off loose polish with an orange stick or cuticle pusher from tip to bottom. Never scrape or push forcefully. If the polish is not easily removable, re-wrap and soak for 5-10 more minutes. This precaution avoids damaging your nail surface.
6. Clean and Buff Your Nails
After removing all polish from your nails, wash them. Wash your hands using warm water and soap to remove residual remover or polish. This is a crucial cleansing process since any remnant chemical can weaken your nails unless removed. Dry your hands gently before moving to the following process.
7. Rehydrate Your Nails and Cuticles
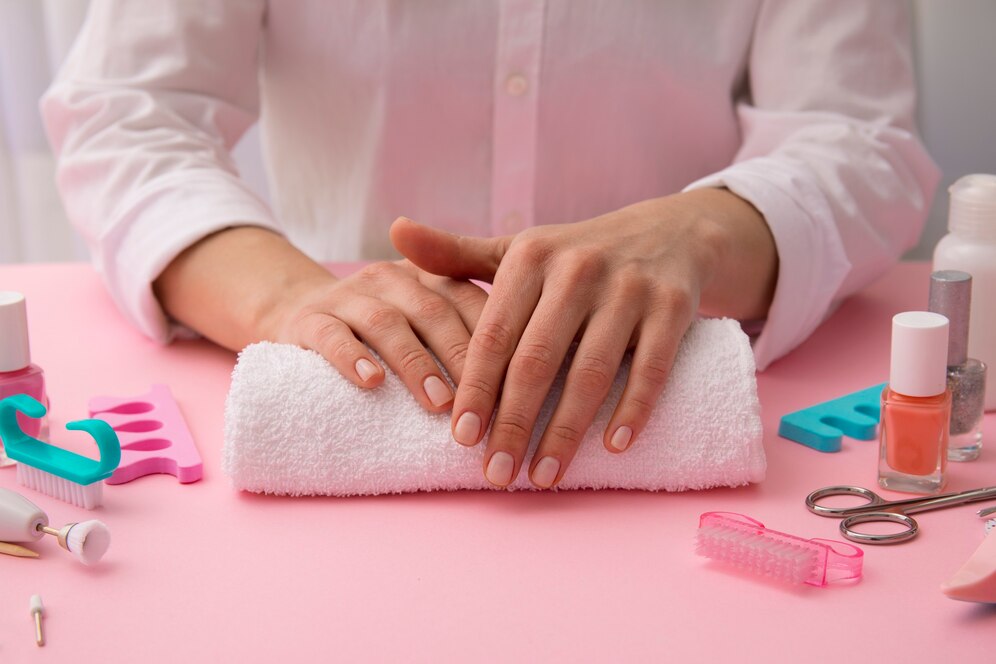
The final necessary process is moisturizing your nails and cuticles. Massage gently in a circular motion to increase blood flow and absorption. Apply cuticle oil to the surrounding skin and nail beds. This moisturizing treatment replaces moisture that was lost in removal. Your nails soak in oil quickly after being subjected to drying acetone.
Conclusion
Proper nail polish removal is essential to maintaining good health and shape. Using appropriate equipment and techniques avoids brittleness, splitting, and irritation. Finding out what type of polish you have, taking skin precautions, and using a safe removal method will enable you to avoid ruining your nails and maintain them in good health.
Hydrating your nails with cuticle oil after removing them will keep them moisturized and resistant. With all precautions, you can have beautiful nails without damaging their health.